
Concrete Tips
Concrete Expansion Joints vs. Control Joints: What's the Difference?
Learn the difference between concrete expansion and control joints. A pro Ocala contractor explains why proper joints prevent cracking in Florida's heat.
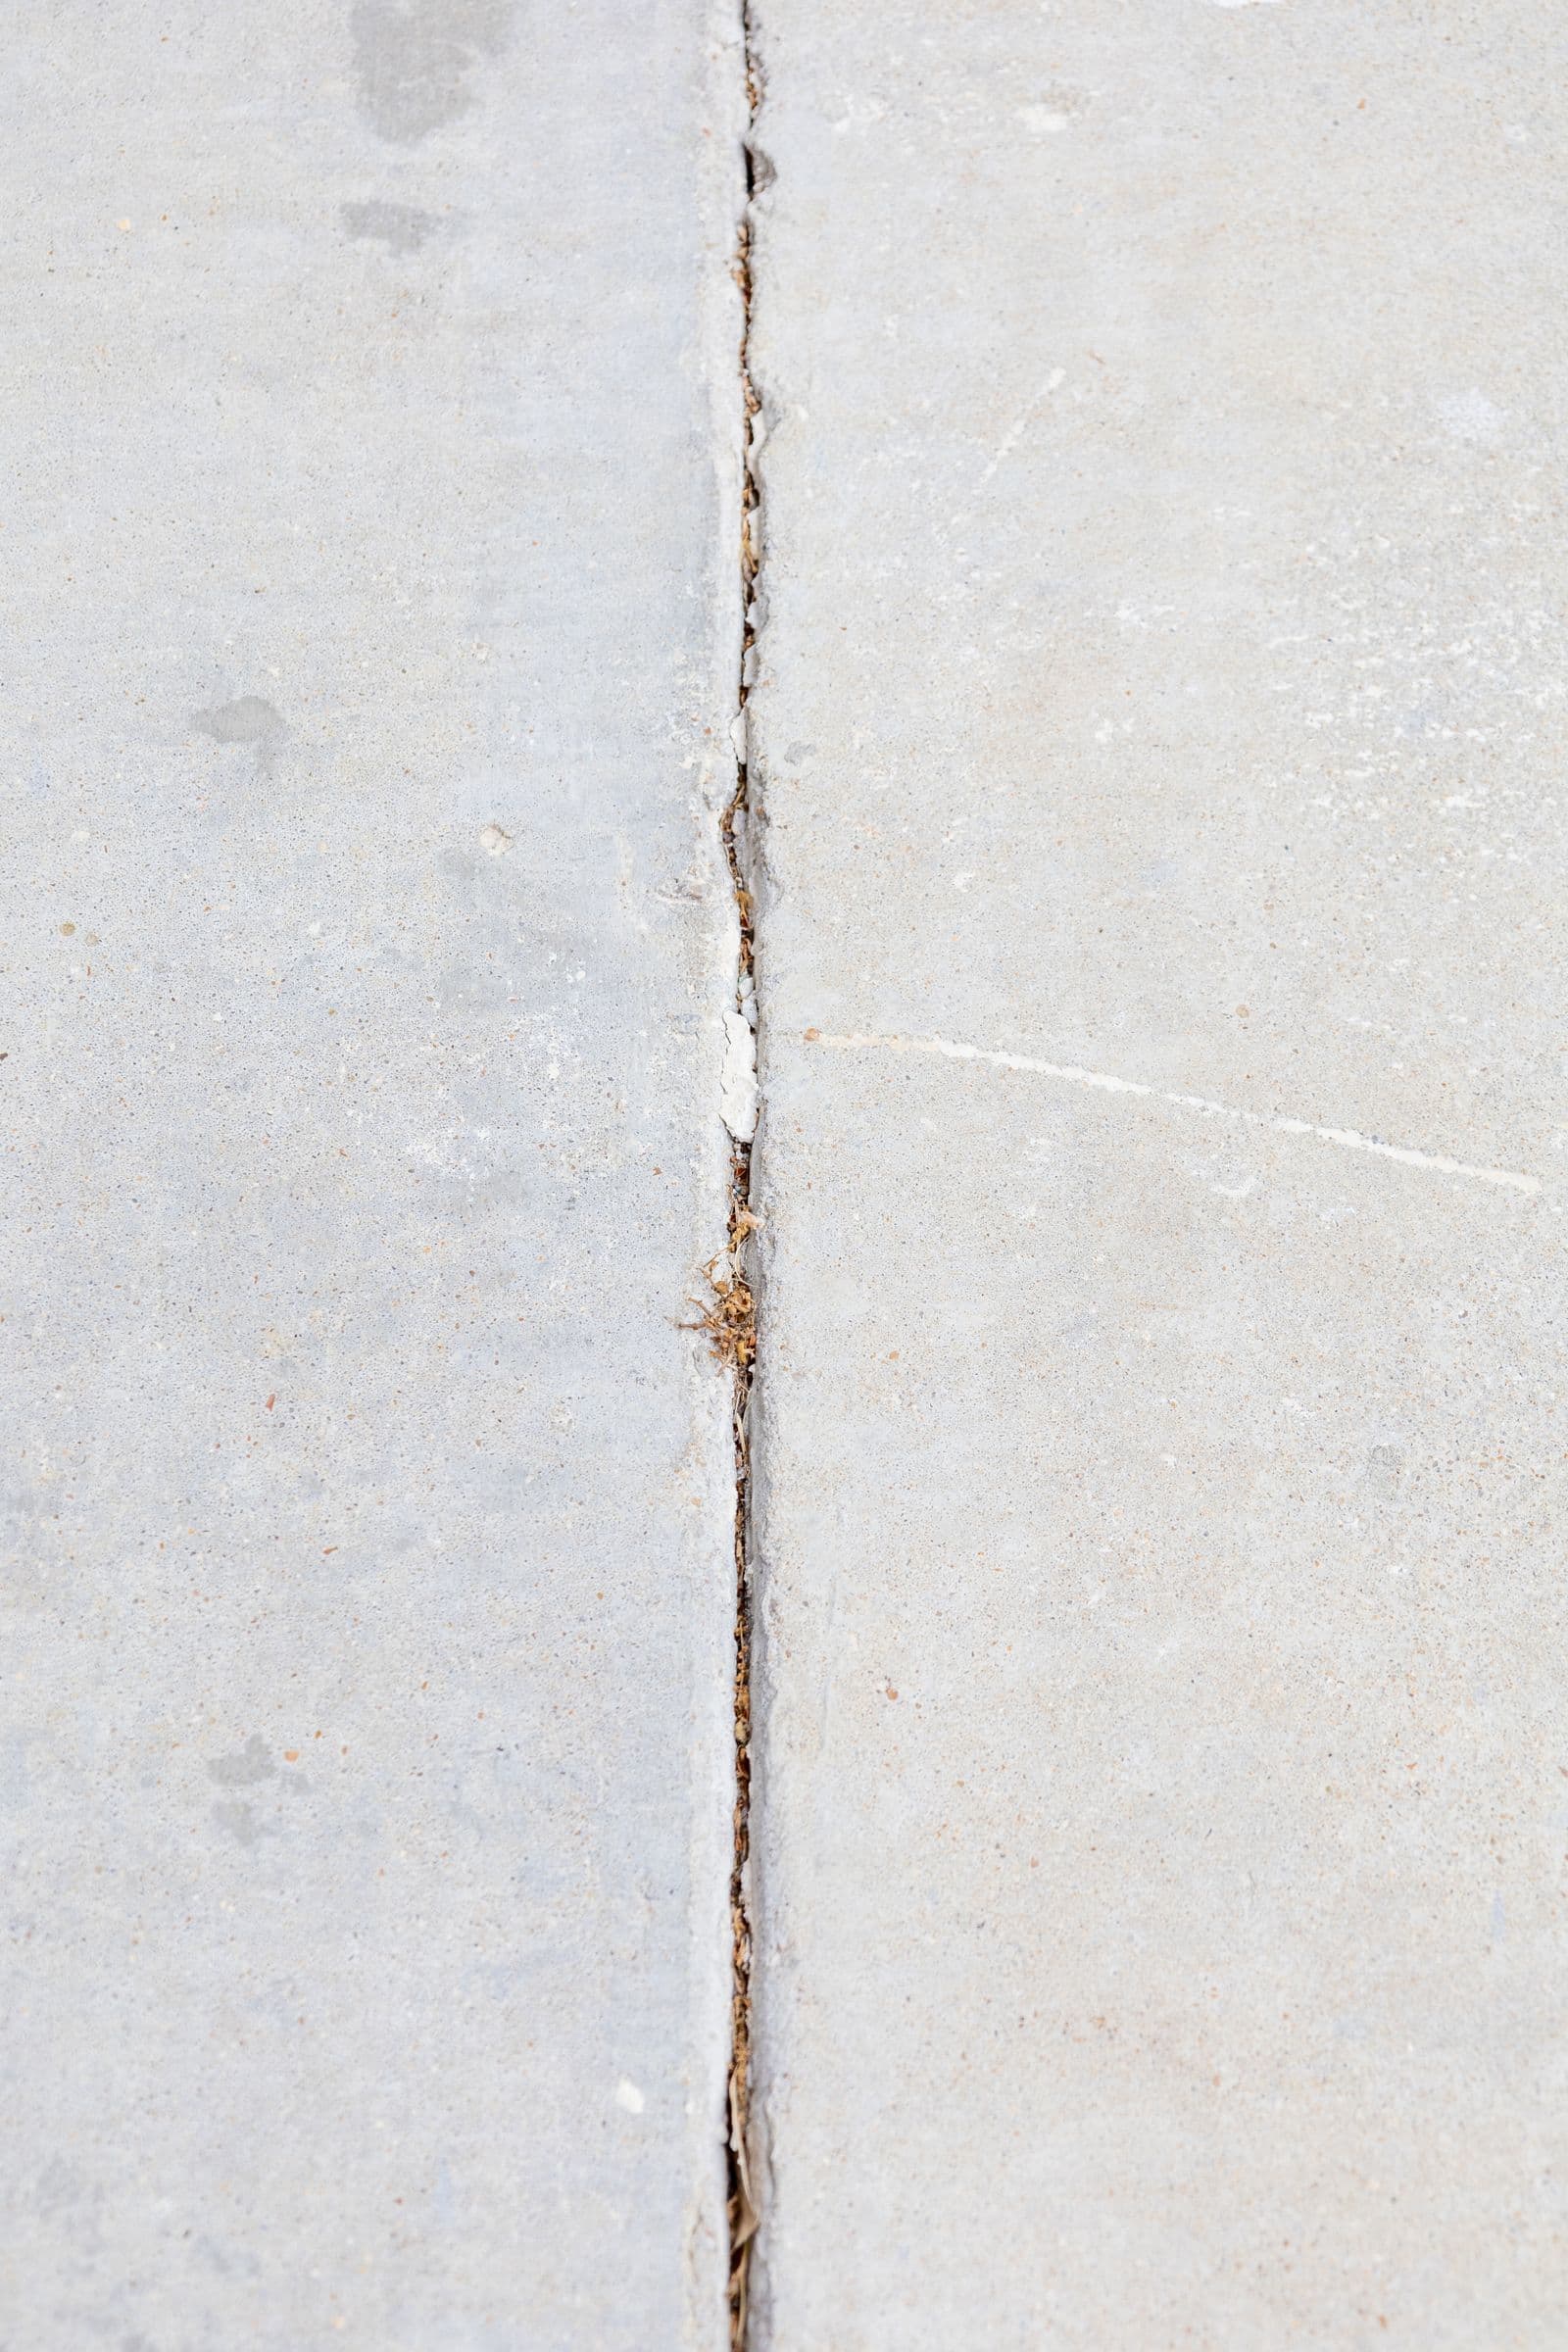
You've seen them in every sidewalk, driveway, and patio: lines cut or tooled into the surface. These aren't just for decoration. They are a critical part of a durable, long-lasting concrete installation, and a professional contractor knows that placing them correctly is non-negotiable. Understanding the difference between these joints is key to knowing if your concrete job is being done right.
At CSP Concrete, we believe an informed customer is the best customer. Let’s break down the types of concrete joints, why they're essential for preventing ugly, random cracks, and how we apply these principles to every job we do here in the Ocala area.
Why Concrete Slabs Need Joints
Concrete seems like a permanent, immovable rock, but it's actually in a constant state of slow motion. Two main forces are at work:
- Drying Shrinkage: As fresh concrete cures, the water inside it evaporates. This process, called hydration, causes the entire slab to shrink slightly. If this shrinkage is restrained, it creates tensile stress that will pull the slab apart and cause cracking.
- Thermal Expansion and Contraction: Here in Central Florida, we know a thing or two about temperature swings. Concrete expands when it gets hot under the summer sun and contracts when it cools down at night or during a winter cold snap. This movement, though small, generates immense internal force.
Concrete has incredible compressive strength (you can put a lot of weight on it), but it has very poor tensile strength (it can't stretch or bend well). Without a way to relieve these shrinkage and thermal stresses, the concrete will simply crack wherever its internal tension is greatest, resulting in ugly, jagged, and uncontrolled fractures.
Joints are the solution. They are pre-planned, straight-line "weak points" that encourage the concrete to crack exactly where we want it to, in a clean and controlled manner.
The 3 Types of Concrete Joints Explained
While people often use the terms interchangeably, there are three distinct types of joints used in concrete flatwork, each with a specific job.
1. Control Joints (Contraction Joints)
This is the most common type of joint you'll see. A control joint is a groove that is tooled into the wet concrete or saw-cut into it shortly after it hardens.
- Purpose: To create a weakened plane that encourages cracks from drying shrinkage and thermal contraction to form along the joint line. It's essentially a "planned crack."
- How it Works: The groove doesn't go all the way through the slab. It only needs to be about one-quarter of the slab's total thickness. This is enough to create a weak spot that relieves tensile stress, forcing the inevitable crack to happen neatly at the bottom of the groove where it can't be seen.
- Appearance: These are the familiar lines that create the pattern of squares or rectangles on sidewalks, driveways, and patios.
2. Expansion Joints (Isolation Joints)
An expansion joint is a full-depth gap that completely separates a concrete slab from another object, such as a building foundation, a column, a retaining wall, or even an adjacent concrete slab poured at a different time.
- Purpose: To allow for independent movement. The new slab will expand and contract at a different rate than the existing structure. Without an expansion joint, the slab would push directly against the wall or column, causing immense pressure that could damage both the slab and the structure.
- How it Works: Before the concrete is poured, a compressible filler material (like fiberboard, cork, or a specialized foam) is placed against the existing structure. This material acts as a shock absorber, compressing to absorb the slab's expansion and preventing stress buildup.
- Appearance: You’ll find these where your driveway meets your garage floor, where a patio abuts your house foundation, or around light pole bases in a parking lot.
3. Construction Joints
A construction joint is simply the place where two separate concrete pours meet. They are a practical necessity on large projects that can't be completed in a single day.
- Purpose: To provide a stopping point for a day's work.
- How it Works: At the end of a pour, a "bulkhead" (a temporary form) is set up to create a clean, straight edge. When the next section is poured, it's poured directly against the hardened edge of the first section. Sometimes, steel dowel bars or keyed joints are used to mechanically link the two slabs and prevent vertical shifting, ensuring a level surface.
- Appearance: On a large warehouse floor or a long private road, a construction joint may look similar to a control joint, but it marks the boundary between two different pours.
| Joint Type | Primary Purpose | Typical Location & Notes |
|---|---|---|
| Control Joint | To control cracking from shrinkage & temperature. | Grooved into the surface (1/4 depth). Spaced every 8-12 ft for a standard 4" slab. Creates the grid pattern on slabs. |
| Expansion Joint | To isolate a slab from another structure. | Full-depth gap with filler. Found where concrete meets a wall, foundation, or column. Allows independent movement. |
| Construction Joint | To create a stopping point between separate pours. | The "seam" where one day's pour ends and the next begins. Often reinforced with dowel bars on heavy-duty jobs. |
The CSP Concrete Approach: Getting Joints Right
At CSP Concrete, we don't cut corners—but we do cut joints, and we do it right. Sloppy or incorrectly placed joints are a hallmark of an inexperienced contractor and will lead to premature failure of your investment. Here’s how we ensure a crack-resistant slab for our Marion County clients.
Proper Control Joint Spacing
The "rule of 2 to 3" is a time-tested industry standard. The spacing between joints in feet should be no more than 2 to 3 times the slab's thickness in inches.
- For a 4-inch thick residential patio or sidewalk, we place control joints every 8 to 12 feet.
- For a 5-inch or 6-inch thick driveway or equipment pad, we'll space them every 10 to 15 feet.
We also aim to create panels that are as square as possible. Long, narrow rectangles are more prone to cracking in the middle.
Correct Joint Depth
A control joint must be deep enough to work. The rule is simple: the joint depth must be at least 1/4 of the slab's thickness. For a 4-inch slab, that’s a 1-inch deep cut. A shallower cut won't be weak enough to guide the crack, rendering it useless.
The Critical Timing of Saw-Cutting
For joints that are saw-cut (as opposed to tooled while wet), timing is everything. This is especially true in the Florida heat, which can accelerate the concrete curing process.
- Cut too early: The saw blade will kick up aggregate and unravel the edges of the joint, creating a messy, weak line.
- Cut too late: The concrete will have already built up enough internal stress to create its own random cracks. The saw cut becomes pointless.
There is a "window of opportunity" that a seasoned professional can identify by experience—usually within 4 to 12 hours after finishing. We monitor the concrete closely to ensure we make our cuts at the perfect time, guaranteeing clean lines and effective crack control for all our concrete slabs and equestrian concrete projects.
Frequently Asked Questions
What is the difference between an expansion joint and a control joint?
An expansion joint is a full-depth gap that separates a slab from another structure (like a wall) to allow for movement. A control joint is a shallow groove cut into the slab's surface to create a planned weak spot and guide shrinkage cracks.
How far apart should control joints be?
A good rule of thumb is to space joints (in feet) about 2 to 3 times the slab's thickness (in inches). For a standard 4-inch thick patio, this means joints should be every 8 to 12 feet.
How deep should a control joint be cut?
A control joint must be cut to a depth of at least one-quarter (1/4) of the total slab thickness. For a 4-inch slab, the cut must be at least 1 inch deep to be effective.
Do concrete joints really stop cracking?
No, they don't stop cracking—they control it. Concrete will always crack due to shrinkage and temperature changes. Joints simply tell the cracks where to happen, keeping them in a straight, neat line instead of letting them spread randomly and jaggedly across your slab.
Do you put joints in driveways and patios?
Absolutely. Every professionally installed driveway, patio, sidewalk, or slab should have both control joints and expansion joints. It is a non-negotiable part of a quality installation that ensures the concrete's longevity and appearance.
Don't risk your investment on a contractor who doesn't understand the science behind a lasting concrete slab. At CSP Concrete, we bring decades of experience to every project in Ocala, The Villages, and the surrounding areas. For a durable, professionally installed slab with proper jointing, call us today at (321) 239-6046 or request your free estimate online.